Make Your Own Journal or Gift Book
by Sheila Seifert
Such a long list of directions may make this craft look hard, but you can do it. Just take it one step at a time. Be sure to ask for help if you need it.
MATERIALS:
(Ask your parents to help you measure and cut the cardboard and fabric.): 96 sheets of 8″ x 10.5″ paper (lined or unlined) 2 sheets of 5″ x 11.5″ cardboard 1 sheet of 8″ x 1″ cardboard 1 piece of 24″ x 15″ fabric with a pattern you like (cotton blend) 12 pieces of 39″ yarn (a color that looks good with your fabric) 2 twist ties (like those used on bread or garbage bags) single hole punch glue
INSTRUCTIONS:
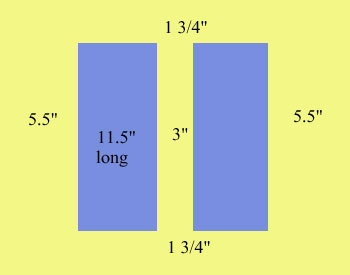
- Place the piece of fabric on a flat surface so that the right side of the fabric is resting against the table and the wrong side of the fabric is facing up. Place the two sheets of 5″ x 11.5″ cardboard on the fabric as shown below. There should be 5 1/2 inches on the outside of the two pieces of cardboard and 3 inches between them. Leave 1 3/4″ at both the top and bottom.
- Apply glue to the entire bottom 1 3/4″ area. Fold the fabric up over the cardboard.
- Apply glue to the entire top 1 3/4″ area. Fold the fabric down over the cardboard.
- Apply glue to the 5.5″ areas on the outside of each cardboard piece. Fold each 5.5″ area over each cardboard sheet and onto the center fabric.
- Apply glue to one side of the 8″ x 1″ sheet of cardboard. Place the glued side of the cardboard vertically (standing up like a person) in the center between the two cardboard sheets.
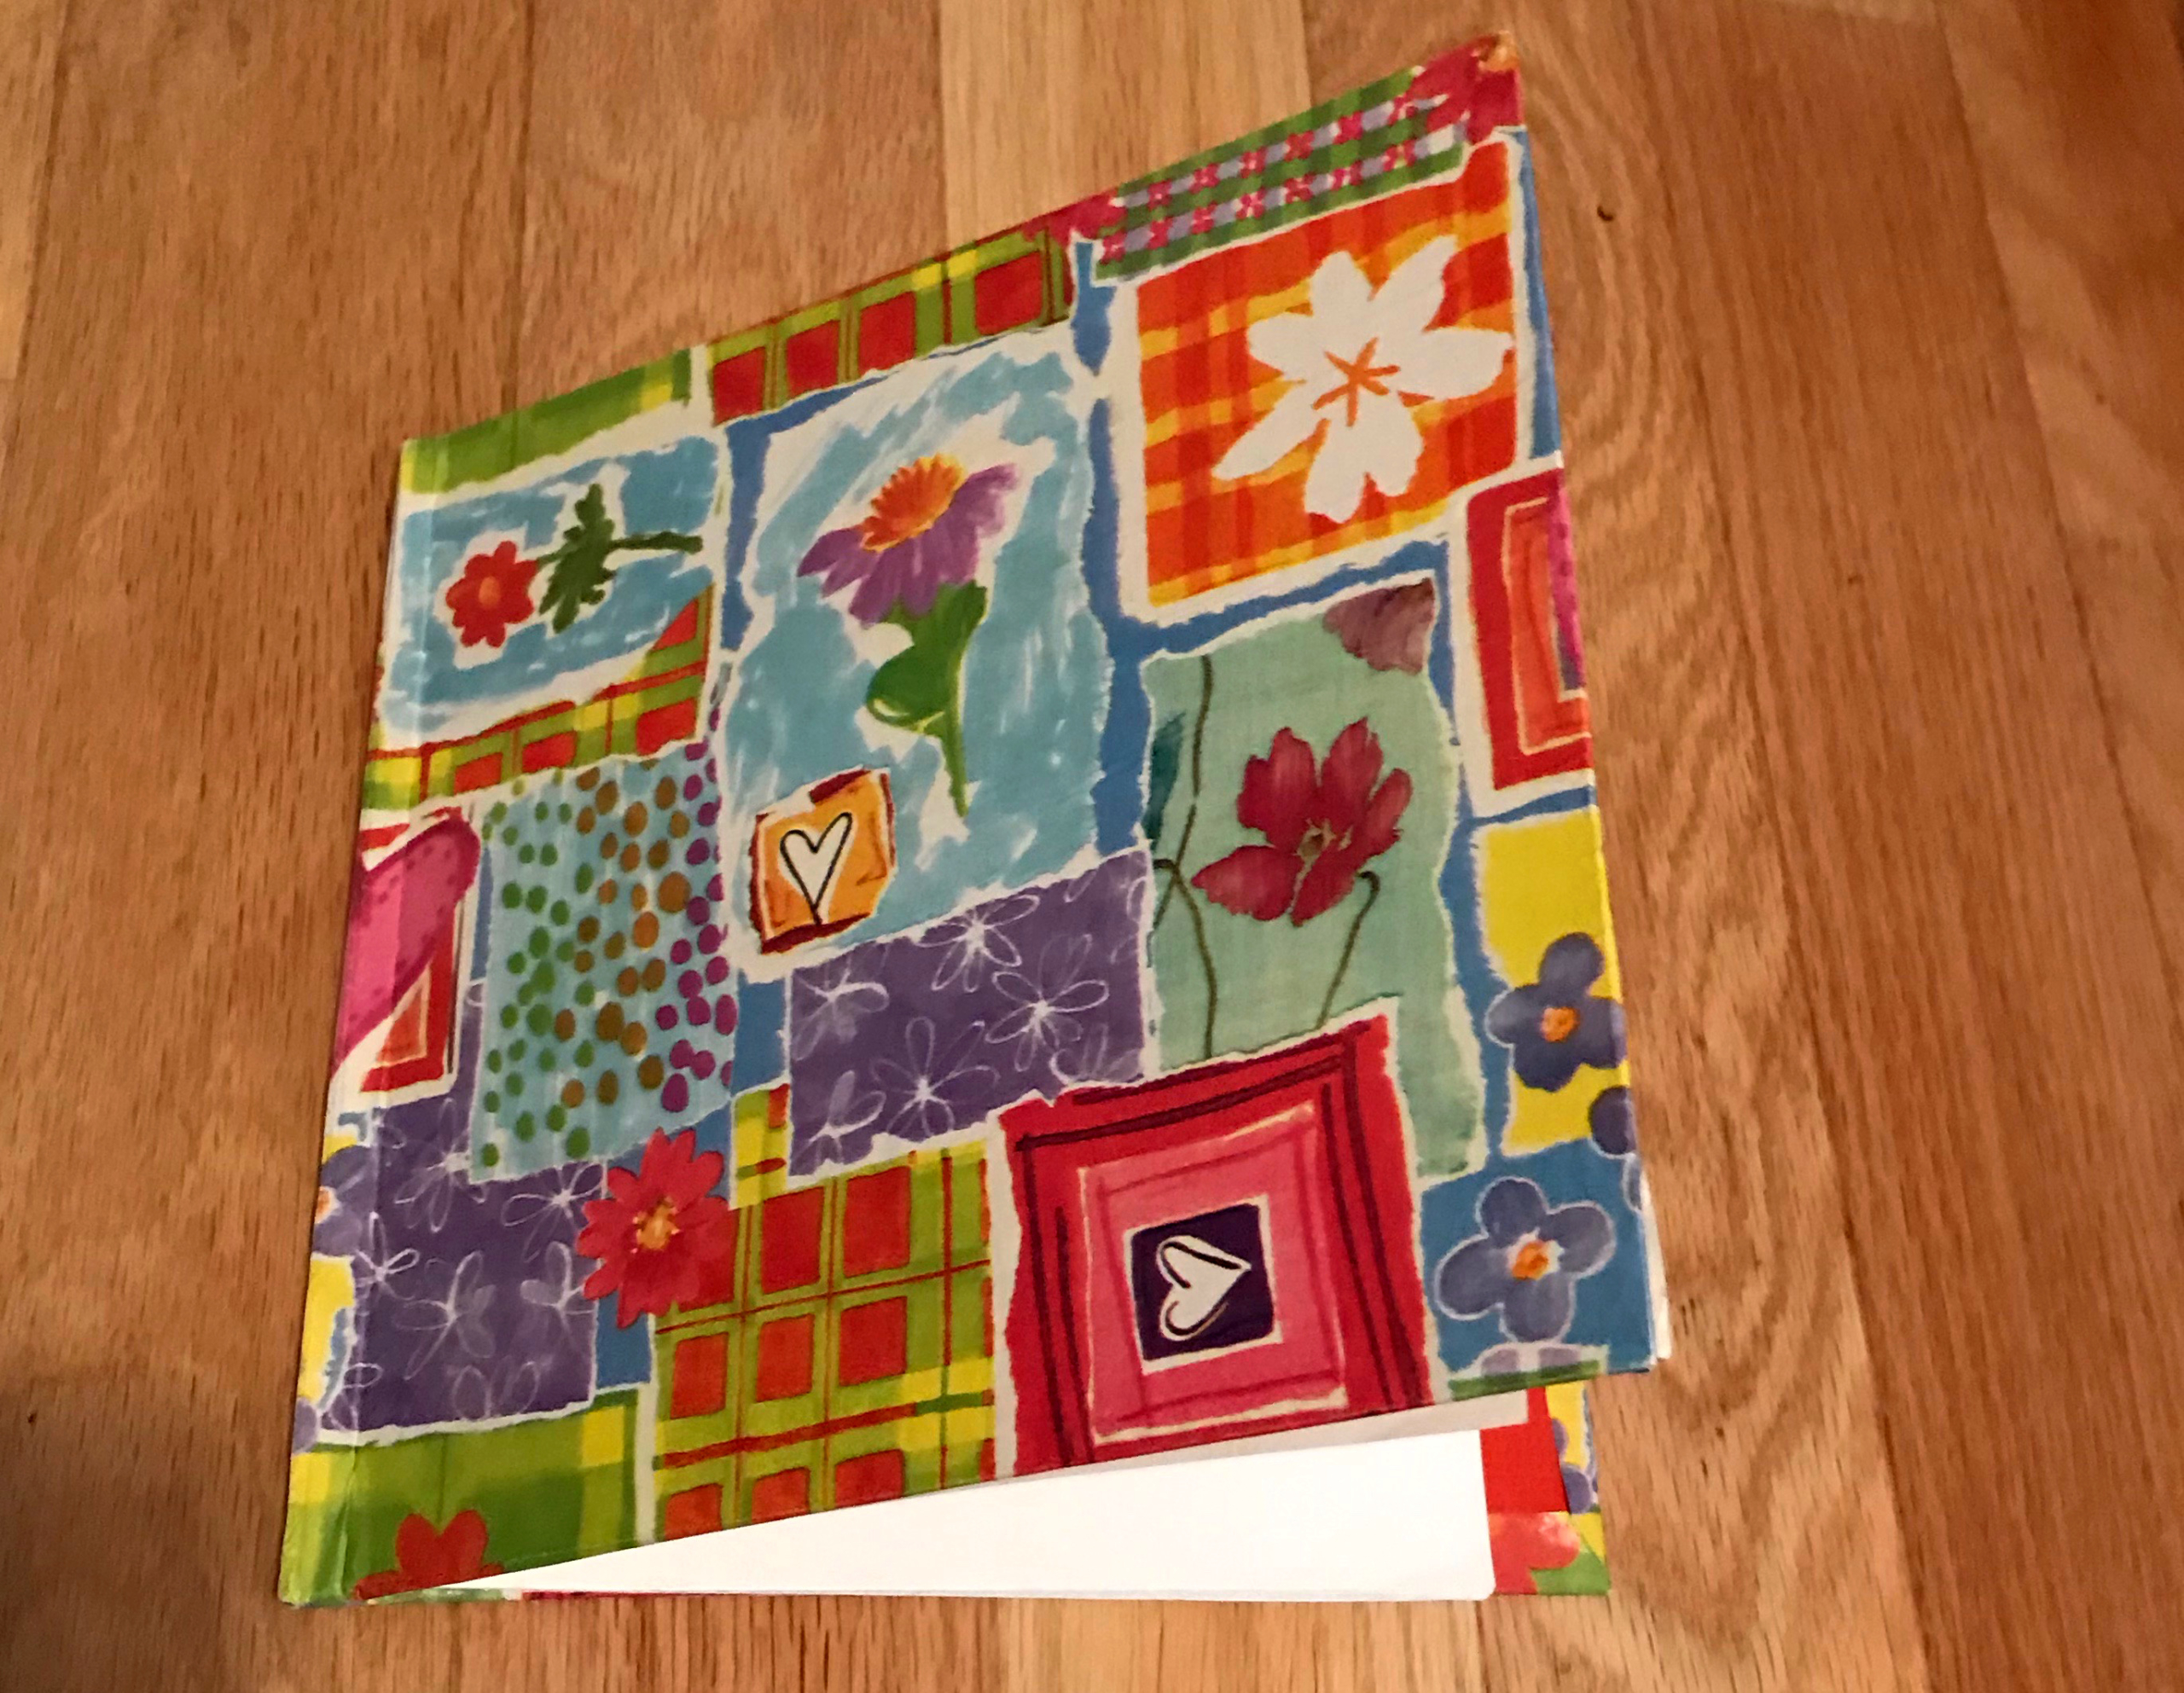
- Now you have finished the cover. Place the cover in a safe place for a couple of hours to give the glue time to dry.
- Divide the 96 sheets of paper into groups of 8. (How many groups will you have? Divide 96 by 8 to find out.) These groups of 8 are called stacks.
- Fold each stack lengthwise (the long way instead of the short way). You will end up with 12 stacks (The answer!) of 4″ x 10.5″ sheets.
- With the paper hole punch, punch a hole approximately 3/4″ to 1″ from the top edge of the first stack. Make the punch on the fold about 1″ from the bottom edge of the stack.
- Now repeat #9 for all the other eleven stacks.
- Take one strand of yarn and thread it through the bottom hole, down the inside middle of the fold, and out through the top hole. Hold the stack up and pull the yarn so that each end is approximately the same length.
- Repeat number 11 for all the other stacks and pieces of yarn.
- When the cover is completely dry, punch a hole directly above the 8″ x 1″ sheet of cardboard.
- Now punch a hole directly below the 8″ x 1″ sheet of cardboard.
- Set one stack on the cover. Thread the yarn end from the bottom hole of the stack through the lower hole of the cover.
- Thread the yarn end from the top hole of the stack through the top hole of the cover.
- Flip the cover closed, over the paper, and pull the yarn tight.
- Tie the yarn ends together, down the center spine (the back skinny part) of the cover. Let the ends hang loose.
- Repeat steps in #15 through #18 eleven more times, once for each stack.
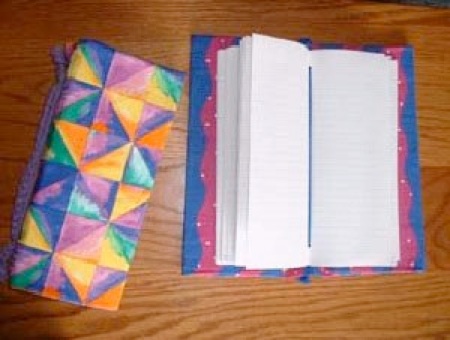
- Now all the stacks should be pressed tightly against the inside cover with their tied pieces of yarn. Now divide the yarn ends (at the back of the spine) into six groups. You should have 4 strands in each group.
- Choose three groups of four and braid them together. (Altogether, that will be 12 pieces of yarn.) To braid, take the group on the left, and cross it over the center group. Then take the group on the right and cross it over the center group. You will notice that the groups keep changing places. First one is in the center, then another, then another. Try not to get your fingers all mixed up.
- When you reach the end of the yarn, make a knot at the end so the braid does not come undone. You may need help for this part.
- Next take three more groups of 4 strands and braid them just as you did in # 21.
- Knot the end of your second braid.
- Take a twist tie and attach the first braid to the yarn coming out of the punched hole. This is to cover the hole.
- Take a twist tie and attach the second braid to the yarn coming out of the other punched hole
All Done!
Your journal is finished! Now you can have fun writing down your thoughts, memories, wishes, and prayers.
How can you use your new journal? Why not write some poetry?
Challenge: If you want to make a journal of a different size, use larger or smaller paper and do the math!